3.Encapsulant Mixing Instructions
1.Open the Shake N’ Seal® container and remove the contents.
Note: Do not open the bag containing the mixing tube until you perform steps 2-6 below.
2.Wear disposable gloves.
3.Point the heat-sealed end of the mixing tube away from you.
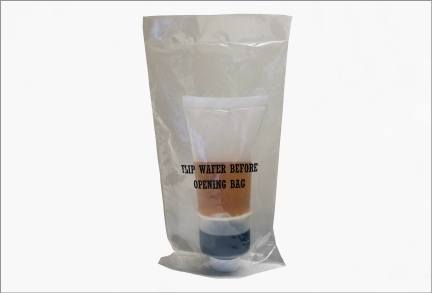
4.Flip the white barrier wafer inside the mixing tube with the thumb and forefinger to allow the two part encapsulant to mix.
5.If the temperature is at least 65 °F, shake the mixing tube with an up and down motion for the duration indicated below.
|
Temperature |
Mix Time |
|
Below 65 °F |
Do not shake; instead, proceed to step 6 below. |
|
Between 65 °F and 85 °F |
Shake for one minute |
|
Between 86 °F and 100 °F |
Shake for 30 seconds |
Note: DO NOT SHAKE the mixing tube if the temperature is below 65 °F.
6.Remove the mixing tube from the bag.
7.Cut the heat-sealed wide end of the tube.
8.Remove the white wafer from the tube using the provided wooden paddle.
9.Stir vigorously with the paddle for one minute to help blend the two components.
Once the encapsulant is mixed, do the following
1.Position the splice tube vertically, fixed end down.
2.Pour the mixed encapsulant out the opened, heat-sealed end of the mixing tube into the splice tube, stopping when the encapsulant is approximately 19 mm (¾ inch) from the open end of the tube.
3.Take the removable end cap and slide it into the splice tube.
4.Secure the end cap to the tube by reinstalling the three #10-32 x 3/8” hex socket head cap screws.
5.Keep the splice tube vertical during the curing process.

Allow 2 hours (minimum) for the epoxy to cure before installing.